
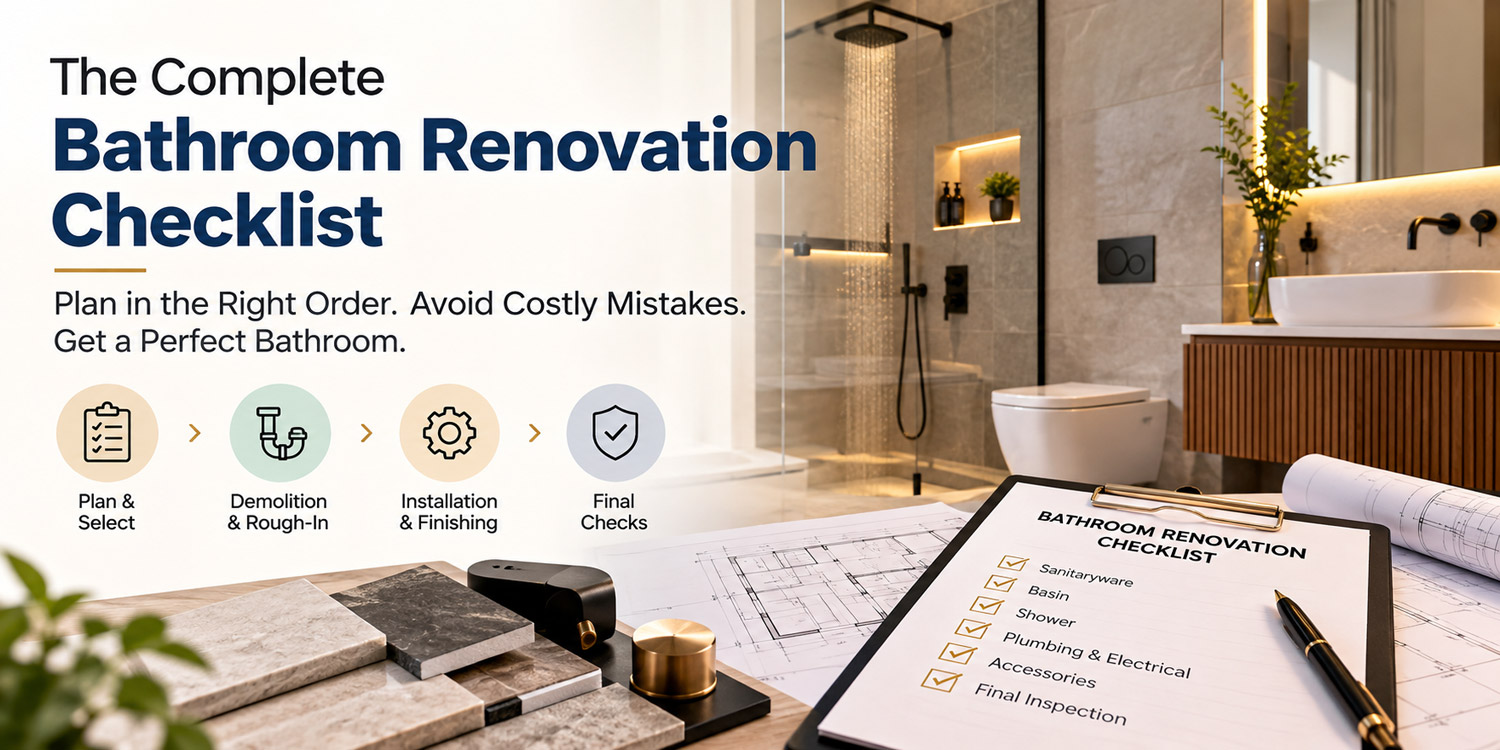
Most bathroom renovations don’t go wrong because someone chose the wrong tile.
They go wrong because a decision got made too late. The power point for the smart toilet wasn’t run before tiling. The shower niche was mentioned after the walls were closed. The faucet turned out to be too short for the basin that arrived three weeks later.
Bathroom renovation is a sequencing problem more than a shopping problem. Almost every expensive mistake is a decision made at the wrong moment, not a bad product choice.
This checklist puts every decision in the order it has to happen.
The One Rule That Prevents Most Problems
Choose your products before any work starts.
Not browse. Not shortlist. Choose, confirm availability, and have specifications in hand.
Every concealed element in a bathroom — cistern, valve body, power point, niche, waste position — is located according to the specific product going there. A plumber roughing in to generic positions is guessing, and guesses get discovered after tiling.
Phase 1: Planning and Selection
Before anything is demolished.
Define the Scope
- [ ] Full renovation or partial upgrade?
- [ ] Is the layout changing, or staying as-is?
- [ ] Who uses this bathroom — now and in ten years?
- [ ] Set a budget, and allocate roughly 8–12% of it to fittings
Check Your Water Supply
This determines what’s actually possible, so do it early.
- [ ] Measure water pressure
- [ ] Confirm hot and cold are reasonably balanced
- [ ] Check geyser capacity against planned outlets
- [ ] Decide whether a pressure pump is needed
- [ ] Consider an inline filter for hard water
Ahmedabad’s water is moderately hard, which affects both fitting choice and long-term maintenance.
Choose the Sanitaryware
- [ ] Wall hung or floor mounted toilet? → compare both formats
- [ ] Confirm S-trap or P-trap from your existing waste outlet
- [ ] Rimless bowl? → why it matters for hygiene
- [ ] Smart toilet? → electrical planning required
- [ ] Concealed cistern and flush plate selected → what to look for
Browse sanitaryware, rimless toilets and smart toilets.
Choose the Basin
- [ ] Material — ceramic, stainless steel, glass or solid surface
- [ ] Mounting — table top, wall hung, pedestal or freestanding
- [ ] Confirm total height works with your chosen faucet
- [ ] Waste and bottle trap specified in matching finish
Full guidance in our wash basin guide. Browse basins and bathtubs.
Choose the Shower
- [ ] Ceiling, wall-mounted, or both?
- [ ] Head size matched to your actual water pressure
- [ ] How many outlets — 2, 3, 4 or 5 way?
- [ ] Thermostatic or manual control?
- [ ] Body jets — only if flow supports them
See the ceiling shower guide and thermostatic vs manual comparison. Browse showers and thermostats.
Choose the Finish
- [ ] Pick ONE finish family for the entire bathroom
- [ ] Confirm PVD coating for any coloured finish
- [ ] Include the bottle trap, flush plate and niche trim in the decision
Our faucet finish guide for hard water covers which finishes suit Gujarat’s conditions. Browse bath faucets.
Plan Storage
- [ ] Shower niche — size, height, which wall → niche planning guide
- [ ] Illuminated niche? Power needs planning now
- [ ] Towel rails, hooks, holders selected in matching finish
Browse accessories.
Phase 2: Demolition and Rough-In
The point of no return. Everything below must already be decided.
Demolition
- [ ] Existing fittings removed
- [ ] Tiles and substrate stripped
- [ ] Wall and floor condition assessed
- [ ] Structural issues addressed before building back
Plumbing Rough-In
- [ ] Waste outlet positioned for your specific toilet
- [ ] Concealed cistern frame fixed — this sets seat height permanently
- [ ] Basin supply and waste set to your basin’s mounting height
- [ ] Shower valve body positioned at the right depth
- [ ] Ceiling shower pipework run before the ceiling closes
- [ ] Body jet positions fixed at correct heights
- [ ] Pressure pump installed if required
Electrical Rough-In
- [ ] Power point for smart toilet
- [ ] Low-voltage supply for illuminated niche
- [ ] Power for LED ceiling shower
- [ ] Lighting circuits and mirror lighting
- [ ] Exhaust fan
- [ ] RCD protection confirmed
If there is any chance you’ll want a smart toilet or illuminated fitting later, run the cable now. A capped, unused connection costs almost nothing. Adding one afterwards means breaking tiles.
Shower Niche
- [ ] Niche formed in the wall
- [ ] Position aligned with tile setting-out
- [ ] Base sloped forward ~2° for drainage
Phase 3: Waterproofing
The most important phase, and the one most often rushed.
- [ ] Floor fully tanked
- [ ] Wet walls tanked to correct height
- [ ] Membrane continuous into and around the shower niche
- [ ] All internal corners sealed
- [ ] Pipe penetrations sealed individually
- [ ] Floor gradient confirmed toward the drain
- [ ] Water test before tiling begins
Do not let tiling start before a water test. Every waterproofing failure is discovered months later, behind finished surfaces, and costs more to fix than the entire original renovation.
Phase 4: Tiling
- [ ] Setting-out planned so niche edges align with grout lines
- [ ] Cuts positioned in less visible areas
- [ ] Floor falls maintained toward the drain
- [ ] Niche internal corners finished cleanly
- [ ] Grout colour selected
- [ ] Movement joints where required
- [ ] Full curing before fittings go on
Phase 5: Fitting Installation
- [ ] Toilet pan mounted, flush plate fitted
- [ ] Basin installed at the planned height
- [ ] Bottle trap fitted in matching finish
- [ ] Faucet installed, clearance over basin rim verified
- [ ] Shower valve trim and outlets fitted
- [ ] Ceiling shower connected and aligned
- [ ] Accessories mounted — rails, hooks, holders
- [ ] Mirror and lighting installed
Phase 6: Testing and Handover
- [ ] Every outlet tested individually
- [ ] All outlets tested together where applicable
- [ ] Thermostatic valve holds temperature under load
- [ ] Toilet flush and refill checked
- [ ] Drainage checked — no pooling anywhere
- [ ] Smart toilet functions verified
- [ ] All silicone sealing complete
- [ ] Warranty documents collected and filed
- [ ] Spare parts noted for future reference
Decision Deadlines: The Critical Table
| Decision | Deadline | Cost if Late |
|---|---|---|
| Toilet format & trap type | Before rough-in | Waste relocation |
| Concealed cistern & frame | Before rough-in | Wall rebuild |
| Seat height | At frame installation | Permanent |
| Basin type & height | Before rough-in | Supply relocation |
| Faucet type (tall vs standard) | With basin | Clearance problems |
| Shower outlet count | Before rough-in | Valve replacement |
| Ceiling shower position | Before ceiling closes | Ceiling rework |
| Body jet positions | Before tiling | Wall rework |
| Shower niche | Before tiling | Cannot be added |
| Smart toilet power | Before tiling | Surface conduit |
| Illuminated niche power | Before tiling | Cannot be added |
| Finish family | Before ordering anything | Mismatched bathroom |
| Flush plate | With faucets | Visual mismatch |
| Bottle trap finish | With basin | Visible mismatch |
Print this table. It’s the single most useful thing in this guide.
Budget Allocation
| Item | Share of Fittings Budget | Priority |
|---|---|---|
| Shower system | 25–30% | Highest — daily use, wall-embedded |
| Basin mixer | 15–20% | Highest — most frequent use |
| Concealed cistern | 15% | High — inside the wall |
| Toilet pan | 15% | Moderate |
| Basin | 10–15% | Moderate |
| Accessories | 5–10% | Lowest — easy to upgrade later |
The principle: spend most on what’s embedded in walls and what you touch daily. Economise on what can be swapped in an afternoon.
More on what separates quality from price in our guide to choosing premium bathroom fittings.
Ten Mistakes That Cost the Most
- Buying fittings after plumbing rough-in. The root cause of most other problems.
- Skipping the water pressure check. Leads to underperforming showers.
- Forgetting the smart toilet power point. Surface conduit on finished tiles.
- No shower niche. Cannot be added later.
- Flat niche base. Water pools permanently.
- Wrong trap type. S-trap and P-trap are not interchangeable.
- Standard faucet with a table top basin. No hand clearance.
- Mixed finishes by accident. Undermines everything else.
- Rushing waterproofing. The most expensive failure possible.
- Mismatched bottle trap. Fully visible under a wall hung basin.
Specify Everything in One Visit
The strongest protection against sequencing errors is choosing everything together, early, with someone who checks compatibility across the whole specification.
At NEXL’s Experience Center in Ahmedabad, sanitaryware, faucets, showers, thermostatic systems and accessories are displayed together — so finishes can be compared directly, clearances verified, and a complete specification confirmed before your plumber starts.
NEXL Experience Center 111, Sun Orbit, Rajpath Rangoli Road, PRL Colony, SBR, Ahmedabad, Gujarat – 380059
Walk-ins welcome. For full renovations or trade projects, get in touch to arrange a consultation.
Browse by category: Bath Faucets · Showers · Thermostats · Sanitaryware · Basins & Bathtubs · Accessories · Allied
FAQ’s
Q: How long before starting should I buy bathroom fittings?
A: Have everything selected and confirmed before demolition. Allow for lead times on anything that isn’t stocked locally — a delayed fitting stalls the entire project because subsequent trades can’t proceed.
Q: Can I change the bathroom layout during renovation?
A: Yes, but moving the toilet waste is the most expensive change because it involves floor work and drainage gradients. Moving basins and showers is considerably simpler. Decide at planning stage, not mid-project.
Q: Do I need an interior designer for a bathroom renovation?
A: Not necessarily for a straightforward replacement. For layout changes, multi-outlet showers, or coordinating finishes across a full specification, professional input usually pays for itself in avoided mistakes.
Q: What’s the most underestimated cost?
A: Waterproofing and tiling labour. Fittings get all the attention, but the work that makes the bathroom function reliably is where budgets most often fall short.
Q: Can I renovate a bathroom in stages?
A: Partially. Fittings can be upgraded individually, but anything involving waterproofing or tiling has to be done as one job. Half-waterproofing a bathroom is not possible.
Q: How do I know if my contractor is waterproofing correctly?
A: Ask for a water test before tiling and be present for it. A contractor confident in their waterproofing will have no objection.
A bathroom renovation has roughly forty decisions in it. Perhaps six of them are genuinely irreversible — and every one of those six has to be made before a surface closes over it.
Get the sequence right and the rest is just choosing things you like.
Explore the full range at nexl.in/product-category/sanitarywares/